
Since we started posting reels on VEED’s Instagram, we’ve seen:
- 110,735 organic video views
- 84,491 users reached
- 5,965 total engagements
The best part? Posting reels has increased our average engagement rate to a whopping 7.25% across all content (typical is 1.05% for brands).
A big part of this win is knowing what our viewers want, the way I structure reels, and the visual elements I add. But the fact that Instagram is prioritizing reels over static content also helps.
The short-form video feature is Instagram’s main offer competing with TikTok’s For You page. No wonder the platform turns any video you post (provided it’s not a video carousel) into a reel — no matter its orientation.
Want to increase your follower count, reach, and engagement on Instagram? Let me take you through everything I’ve learned about planning, creating, and publishing engaging reels at the right time as VEED’s Senior Social Media Manager.
Jump to a specific section:
- The Anatomy of an Engaging Reel
- Instagram Reels Size and Resolution Specifications
- The Ideal Post Copy (Captions) for Your Reels
- How to Publish a Reel on Instagram
- How to Find the Best Time to Post Instagram Reels
- How the Instagram Reels Algorithm “Thinks”
- Bonus Tips to Drive More Engagement from Reels

The Anatomy of an Engaging Reel
Between readable subtitles, a defined story structure, and attention-grabbing transitions, there’s a lot that goes into making a high-performing Reel.
But if I were to pick and package these elements, they’d boil down to two main factors: a Reel’s story structure and its visual elements:
The 3-part Story Structure
When planning Instagram Reels, break them down into three parts:
i. A Thumb-Stopping Hook to Reel People In
Your video’s hook is the opening scene that is solely responsible for stopping viewers’ scroll and getting them to pay attention to your content. It can be a:
- Before and after hook that shows the difference your topic makes. This reel’s opening scene, for example, showcases the massive difference that cleaning your video background noise makes.
- Solution to a struggle your specific audience faces. For instance, this reel hooks people in with a simple, “let me show you how to make a professional video for your brand.”
- Relatable question that touches on your audience’s struggle. We do this with a ‘tired of [insert pain point]? Use [solution].’ In a live example, this hook looks like this: ‘Tired of editing manually. Don’t worry we made a tool that does it for you.’
Pro tip: When scrolling Instagram, pay attention to what videos make you pause. Then reverse engineer and experiment with the same hook’s structure in your reels.
ii. An Engaging Story To Keep Viewers Hooked
This part is your Reel’s heart that is responsible for retaining the attention your video’s hook won.
To this end, make sure your story:
a) Delivers on the promise you made
For instance, if your hook promised to share an easy tip to do something, your video’s body should share it right away.
Take this Reel — it dives straight into explaining how to add a background to your videos (the promise the hook makes):
b) Is worth the viewer's time
If it’s educational by theme, for example, it should teach something actionable.
On the other hand, if it’s purely entertaining, make sure it brings out an emotional reaction.
This Reel, for example, uses the famous “awkwardly staring dog” meme to capture the frantic moment when video creators realize they forgot to hit the record button during a shoot:
Pro tip: Always tap into your knowledge of your target audience to plan a Reel’s structure. Ask yourself: what’s something they’re struggling with? Review comments under your posts and questions you get in your messages to objectively answer this. And if you don’t have enough engagement yet, go through the comments sections of other creators catering to an audience like yours to understand what people want.
iii. A Persuasive Call to Action
In the third and final section of a Reel, close the story by encouraging viewers to take action. It could be anything, such as asking them to:
- Visit the link in your bio
- Follow you on Instagram
- Give your product/service a try
Remember: Never add CTAs as an afterthought.
It’s a common mistake many of us make. You should ideally map your CTAs to your Instagram objectives, and then add them to your reels.
For example, if you plan to grow your follower count, make sure all your CTAs encourage viewers to follow you. Taking this approach of strategically adding the same CTA to a batch of your reels also helps you quantify results better.
The Attention-Retaining Visual Elements
Visual elements are graphic components like filters, stickers, and camera effects that enhance the overall visual appeal of your reel. These help make your reels more captivating, and therefore, more engaging.
The following are absolute must-haves for the reels you make:
i. Clear, Easily Readable Subtitles
75% of people watch videos on mute. Adding subtitles to your reels makes your story understandable even when muted — helping you engage these silent viewers.
So after you’re done recording your reel from the Instagram app, click Next to edit it. Now hit the sticker icon and select Captions.

Video captions you add this way will likely be similar to other reels though. Meaning: you have limited (and overused) subtitle styles to choose from.
To overcome this, I use the VEED Captions app.
There are plenty of unique subtitle presets and fonts you can try here. You can even add highly engaging effects and animations to really capture the attention of your audience.Or, you can create branded subtitles for your reels.
Adding subtitles to your reels from VEED's mobile app takes hardly a few minutes and gives you the liberty to play with the style, font, text size, formatting, and color. You can also precisely adjust your captions’ timing. And the best part? You can do it all on your phone on-the-go, and upload the reel on Instagram once you're pleased with the final result.
ii. Dynamic Camera Angles
One camera angle can quickly bore viewers by making the video monotonous.
Varied angles, on the other hand, create visual interest by covering the speaker from different angles — keeping viewers focused.
See how we use wide and close shots to break the recording monotony in this reel:
In the reel above, Alec (video team lead at VEED) also changes his position by walking around slowly to spice up the video frame.
iii. Text, Stickers, GIFs, and Filters
These help you add more life to your reels, increasing engagement.
Again, you can add them from your Instagram phone app.
When you’re editing your recorded video clip, you’ll see the options to add text (for the Reel’s headline), stickers, and filters laid out at the bottom of your editing space:

As with subtitle text, your options here are going to be limited though.
You can always use VEED to add a wide variety of visuals like shapes, 3D stickers, emojis, progress bars, callouts, brand logos, sound waves, and more.
When your Reel is ready, always preview its visual elements in Instagram’s reel maker.
Doing so shows you each element’s position so you can conveniently adjust them to ensure nothing is covered by the app’s user interface (think: a follow me sticker covered by the profile icon).
The end result is a clean, clutter-free reel 🎯
Instagram Reels Size and Resolution Specifications
Sizing your reels per Instagram’s specification lets you use the entire screen space the app gives you to offer viewers an immersive experience.
So make sure you save and reference these size and resolution specifications before you post:
- Maximum Instagram Reels length: 90 seconds
- Ideal Reels resolution: 1080 pixels x 1920 pixels
- Instagram Reels compression size: Images/videos between 320 and 1080 pixels are supported in their original resolution as long as the photo aspect ratio is between 1.91:1 and 4:5.
- Instagram Reel cover photo specs: 9:16 ratio and 1080 pixels x 1920 pixels. Remember to include all important information in a 1:1 section for the IG grid preview.
Want an easier way to optimize your reels’ size and resolution without having to remember or reference these numbers? You can use VEED to resize videos in seconds.
The Ideal Post Copy (Captions) for Your Reels
Post copy (or captions) are great complements to your reels.
Note that I said ‘complements,’ not absolute ‘musts.’ That’s because when it comes to grabbing people’s attention, your reel’s structure and visual elements do the heavy lifting.
It’s why I recommend budgeting more time to nailing your story structure, not the post copy.
For the post copy, focus on including keywords and 1-3 hashtags.

These hashtags signal Instagram’s algorithm what your reel is about, helping it organize your content in relevant categories so it can show it to interested folks.
Heads up: As much as I’d like to tell you adding a set of 30 so and so hashtags can get you thousands of views, the reality is: hashtags no longer have the same impact they used to have on your content’s discoverability. Use no more than three to help the algorithm discern what your reels are about.
How to Publish a Reel on Instagram
Open your Instagram app and take the following steps:
1. Click on the + button at the bottom of your screen.

2. Select REEL from the choice bar on the bottom right.

3. This will open your photo and video gallery.
You have two choices here:
- If you’re creating an Instagram Reel from scratch, hit the Camera icon at the top and start recording. Once done, click on Next and edit the clip if needed (such as adjusting its duration, speed, adding audio, text, GIFs, etc.).
- If you want to publish a ready-to-go reel, select it from your gallery, click Next, and make any needed edits.
.png)
4. In both cases, click the blue forward arrow.

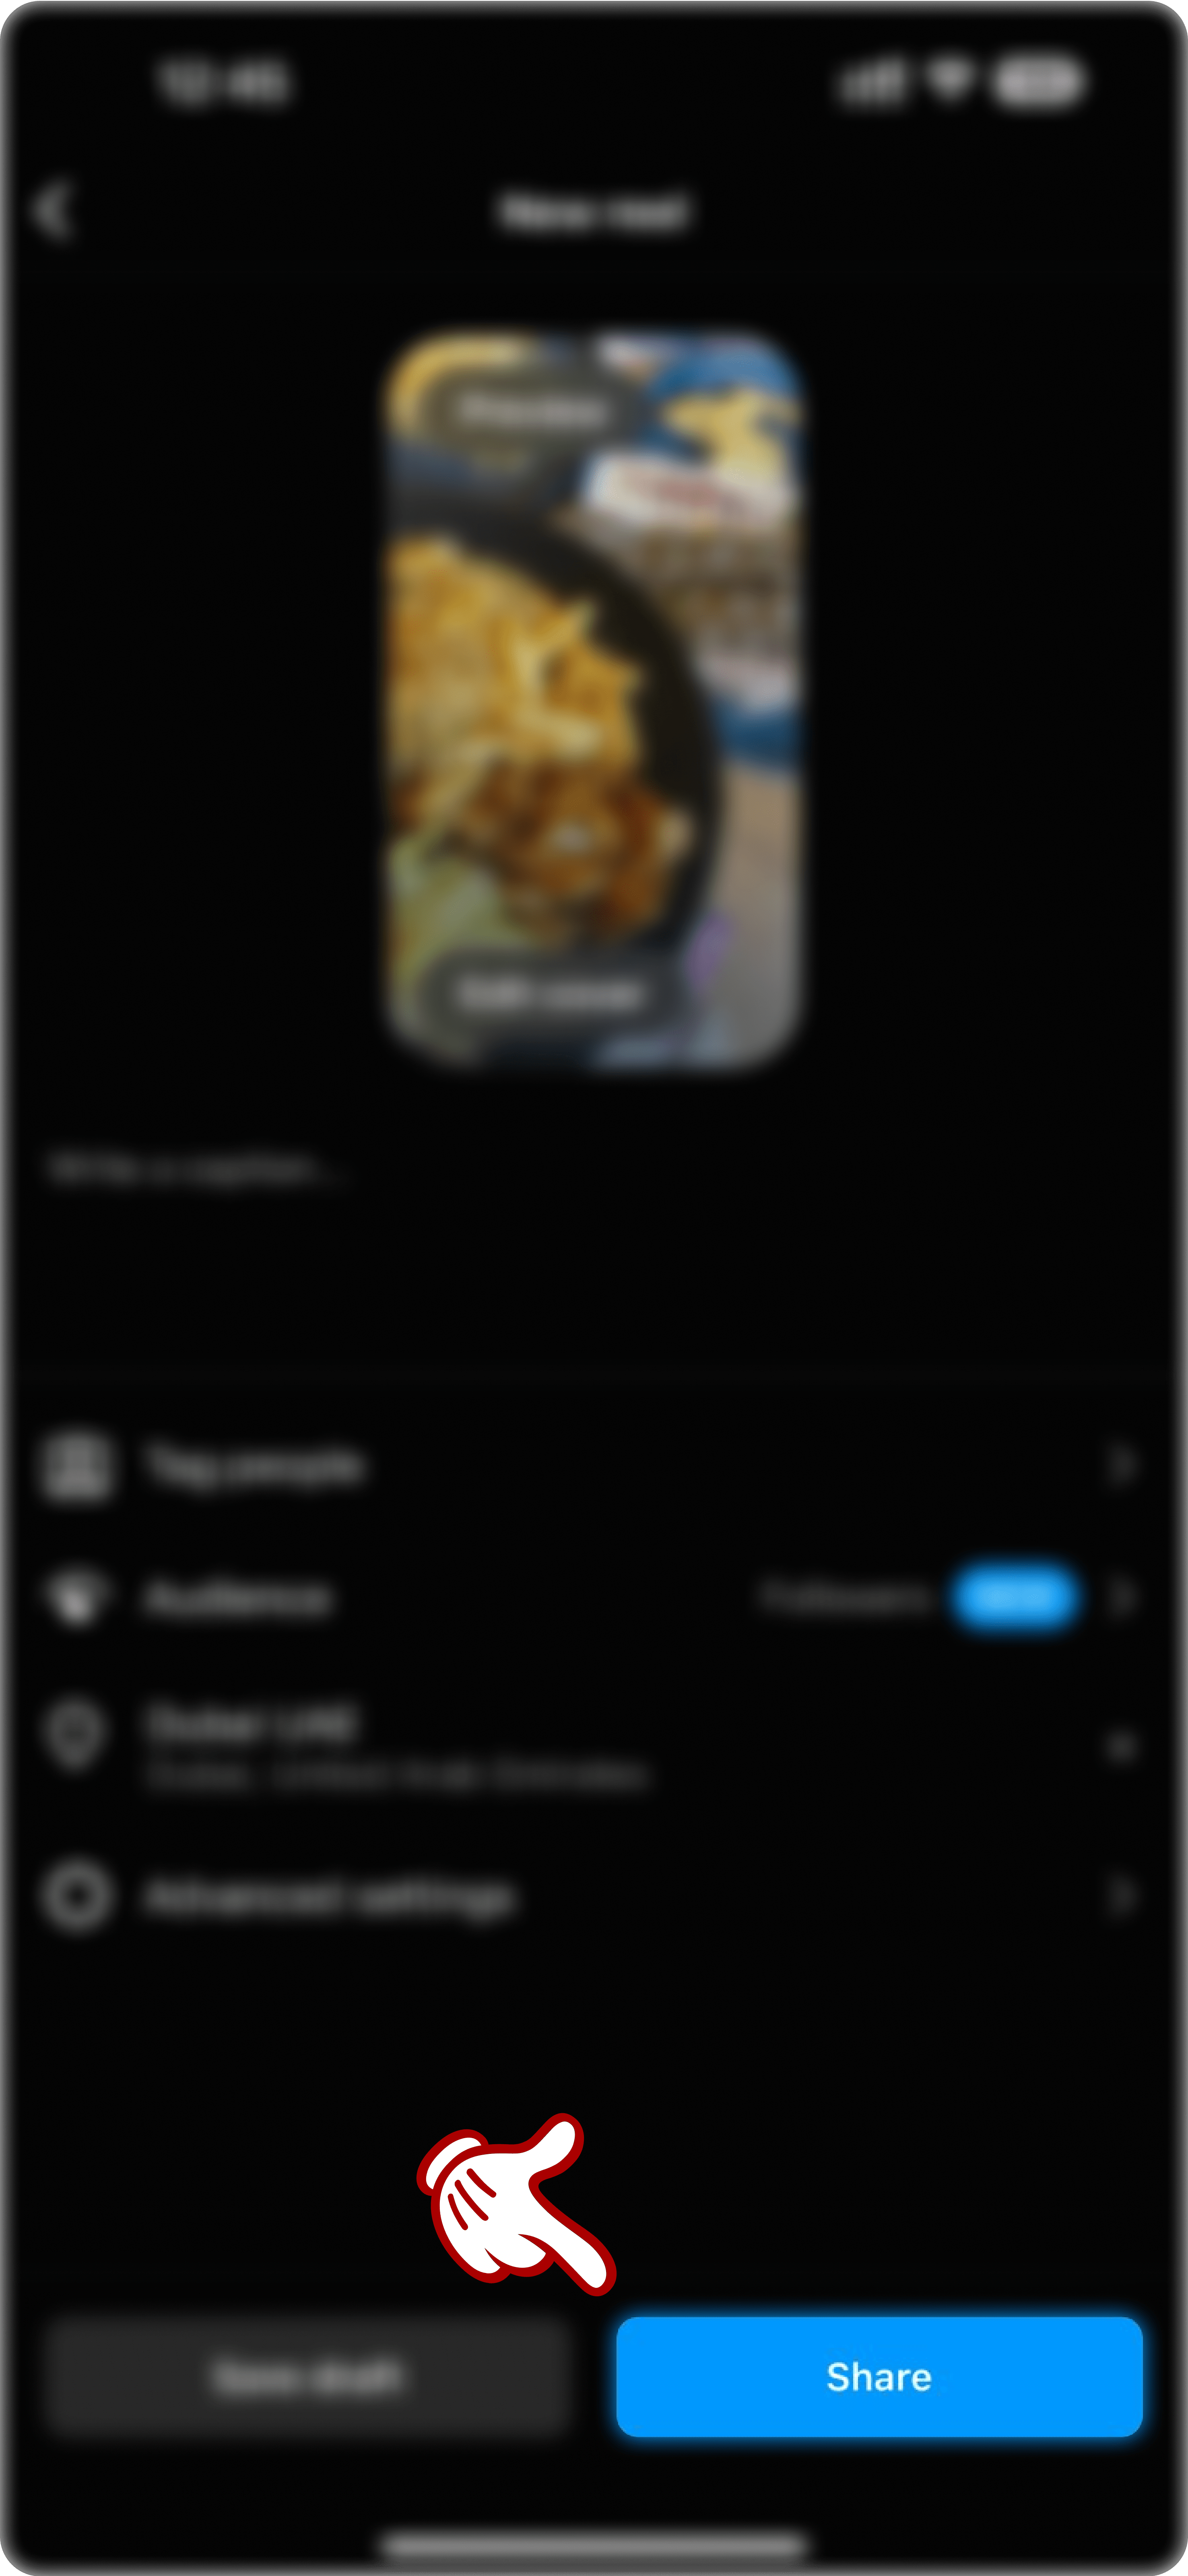
5. If you'd like, you can tag any account, adjust the privacy settings, and even add location. Once done, hit Share and your Reel will be live.
How to Find the Best Time to Post Instagram Reels
The best time to post reels is:
- When your audience is online
- And when their Instagram feed is a little less crowded
If that means posting an hour earlier than when your competitors are, so be it.
For instance, in the video editing space, other pages post at 5 pm. This means at 5 pm, our ideal viewers see video editing reels from everyone and their mother.
So instead of adding to the noise, what I do is post an hour earlier or an hour later — when our target audience is online, but their feed isn’t crowded with the same topic.
You can do the same by looking up when your audience is online on your Instagram analytics page. Here’s how:
- Head to your creator/business profile
- Tap on the three horizontal lines and select Insights
- Under the Overview section here, click on Total followers
- Scroll down to find the Most active times.

Next, review when your competitors publish and ask yourself: does it make sense for me to publish early for my target viewers?
Remember: the ideal time is one that makes the most sense for your audience.
But if you’re only starting (kudos for getting started 🎉), you likely won’t have enough data here.
In that case, check out our roundup of the best times to post on Instagram for different industries, based on findings and averages from different leading social media tools.
Adjust your timing as you grow and start building your data pool. Because really:
- Every account’s audience is unique. Meaning: it’s best to only rely on third-party recommended posting times early in your journey.
- The times your specific audience is active will vary as per your follower count. So remember to tap into your IG analytics data to micro-refine your posting schedule as you grow.
How the Instagram Reels Algorithm “Thinks”
From the four Instagram algorithms (Feed, Stories, Explore Page, and Reels algorithms), the reels algo shows videos that it believes a viewer will most likely interact with.
For example, users who are interested in video editing are more likely to see VEED’s reels than viewers who aren’t. Instagram determines this interest using various signals like:
- The types of posts people interact with (reels, photos, etc.)
- Their activity (the topics they typically consume and engage with)
- Their interaction history with a brand/creator (do they typically like or comment on your posts)
If an audio, topic, or style begins trending on the platform, Instagram identifies people’s interest in it and starts promoting reels that align with it.
The algorithm also looks at the poster’s information and content. That is:
- How often do you post?
- What do you post about?
- How often do people engage with your content?
Of all this though, the most important element is engagement. Here the algorithm considers.
- How often people comment, like, and save your reels
- How much time do they spend watching your content
- How often folks tap on your profile and interact with it
One last bit about the way the Reels algorithm works: Instagram actively discourages and stunts the reach of reels that:
- Are blurry or poor quality
- Visibly recycled from another app
- Contain borders or are horizontal
- Have already been published on Instagram
By contrast, it encourages creating entertaining or inspiring videos that leverage camera effects, filters, original audio, or music from Instagram’s music library.
So if you’ve been thinking of reposting TikTok videos on Instagram, discard that thought right there.
Instead, use what you’ve learned about the algorithm to ‘hack’ it and grow your visibility.
5 Bonus Tips to Drive Results from Reels
Now for some parting must-follow tips that’ll help you grow:
- Always Capitalize the First Word in Your Hashtags (Example: #MonsteraMonday).
This makes hashtags easy to read for visually impaired people, improving your content’s accessibility.
- Only Participate in Trends That are Relevant to Your Brand/Business
Chances are people follow you because one of your trending reels resonated with them — only to realize later, they aren’t interested in your product/service.
- Niche Down to Reach a Specific Audience
Instead of casting a broad net, identify your ideal buyers and create content for them. That way you can build a community of a niche audience who are interested in your product/service.
- Post Consistently. And No, Consistency Doesn’t Mean Daily Posting
Regular posting lets you stay on top of your niche audience’s minds and in the algorithm’s good books.
But this doesn’t mean you exhaust your resources by publishing daily.
An effective rule of thumb I follow instead is to stick with publishing as many times a week as you can comfortably manage — even if that means twice per week.
- Distribute Your Reels As Much As You Can
Share your reel to your Story when you post it to encourage people to watch it.
I also reshare it on our account’s story a few days later to re-engage our community.
The engagement that comes then prompts Instagram to push the reel a bit further — helping me squeeze as much engagement from the reel as possible.
You can also distribute the reel to other short-form video apps you’re using such as TikTok and YouTube Shorts. But make sure your audience on those platforms is as niche as it is on Instagram so the content is relevant to them as well.
Win at Instagram Reels
Creating engaging reels takes practice, patience, and lots of testing.
You’ll also want to review who you want to target and when that niche audience is the most active.
But remember, you’re halfway there when you plan reels using the 3-part story structure and visual elements.
Want a creative head start for your Instagram Reels? Take VEED for a spin to add branded subtitles, unique effects, outstanding transitions, and much more.

.png)


